

For a quick refresher of what multisig is, read https://medium.com/@stellarguard/securing-your-stellar-lumens-with-multisig-and-stellarguard-103385c671e3
The official Stellar.org Account Viewer recently merged a pull request that StellarGuard submitted to add basic support for multisig accounts. Here is how you can use it. Note: the account viewer only supports basic payment operations.
1. Go to https://www.stellar.org/account-viewer, which is the website of the official Account Viewer.
2. Enter your Secret key to sign in (you may also use a Ledger to sign in).

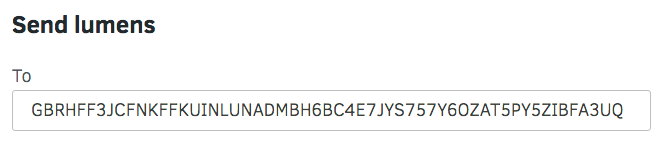
3. Enter the public key or federation address of the account you are sending to, and the amount you want to send.
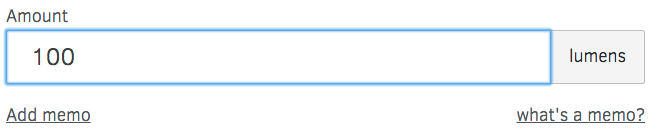
4. Click “add memo” to add an optional memo.
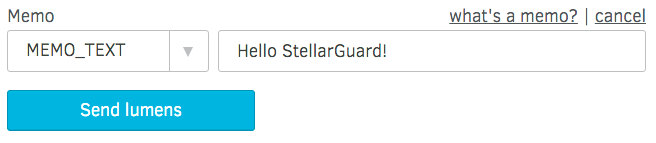
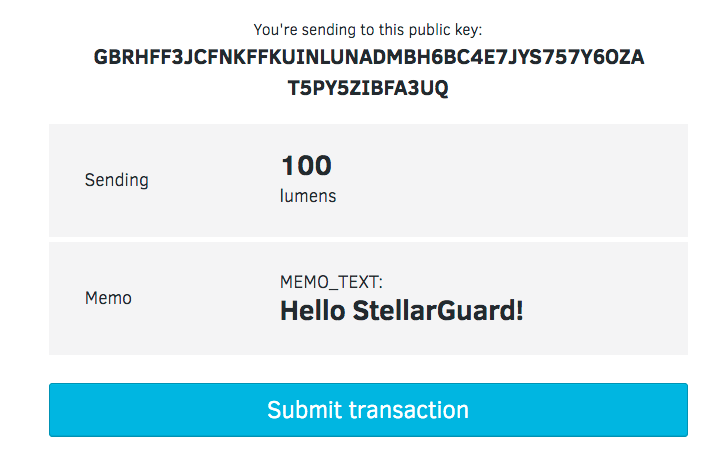
5. Click “Send lumens” to be taken to a confirmation page. Verify that the payment information is correct and click “Submit transaction”.
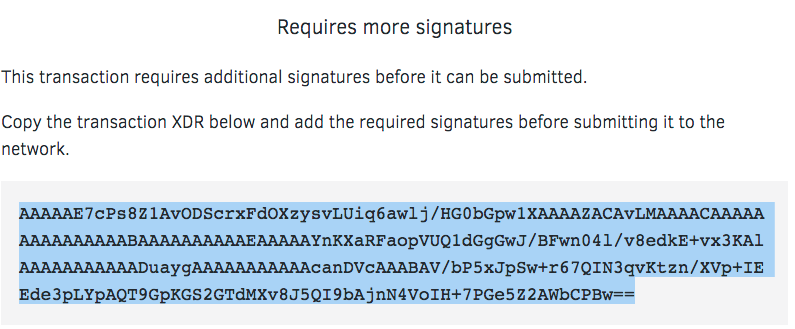
6. If your account has multisig enabled, instead of submitting the transaction, you will be taken to page that displays the signed transaction XDR (encoded transaction details). You can then copy this XDR and send it to someone else to sign it in their tool of choice.
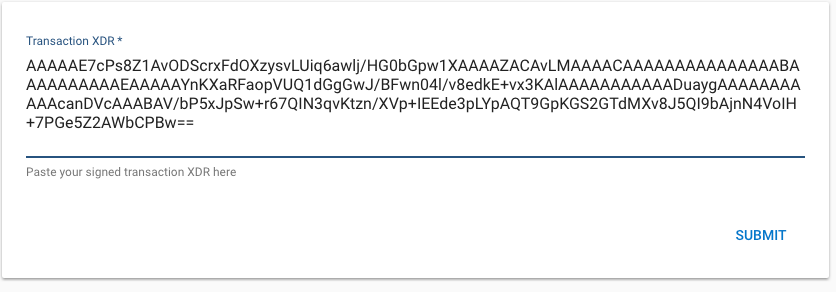
7. If you are using StellarGuard to protect your account, you may go to https://stellarguard.me/transactions/new and paste the transaction XDR and press “Submit”. You will then receive an email with instructions about how to authorize the transaction (a code sent in the email, or 2 factor auth code from an authenticator app).
That’s it! Multisig transactions in the official Stellar Account Viewer!
If you’d like to see StellarGuard integrated directly into the Account Viewer so that accounts protected by StellarGuard will have their transactions submitted directly to StellarGuard, give a +1 at https://github.com/stellar/account-viewer/pull/68.
This tutorial is available at: https://stellarguard.me/help/new-transaction-account-viewer


